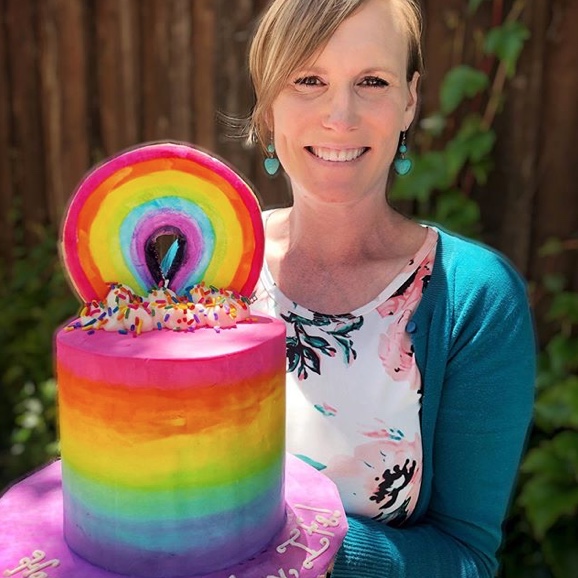
Annie’s Peanut Butter Ice Cream with Chocolate Ganache
This is the third recipe I’m sharing during the COVID-19 quarantine in hopes of brightening your days a little bit. Making food brings joy to me, as well as my eaters. You can even involve kids in ice-cream making because it is super simple. And you don’t need an ice cream machine! I don’t even own one.
No-churn ice cream is the world’s best-kept secret. I am not kidding when I tell you I make more than a quart of ice cream in under 10 minutes (with 5-6 hours freezing time after that; but that doesn’t count).
What if I told you there are only two essential ingredients in no-churn ice cream? Want to know the magical ingredients? They are:
1. Whole whipping cream
2. Sweetened condensed milk
That’s it.
Those are seriously the only two essential ingredients to any flavor of no-churn ice cream you want to make.
Of course, you’ll want a flavor. Vanilla extract is what you’d add for simple vanilla ice cream. Use your imagination! I’ve been having so much fun over the years, experimenting with random flavors that pop into my head while watching a baking show, or eating out…any two flavors I find to be a delightful marriage, like honey and lavender. Mmmmm.
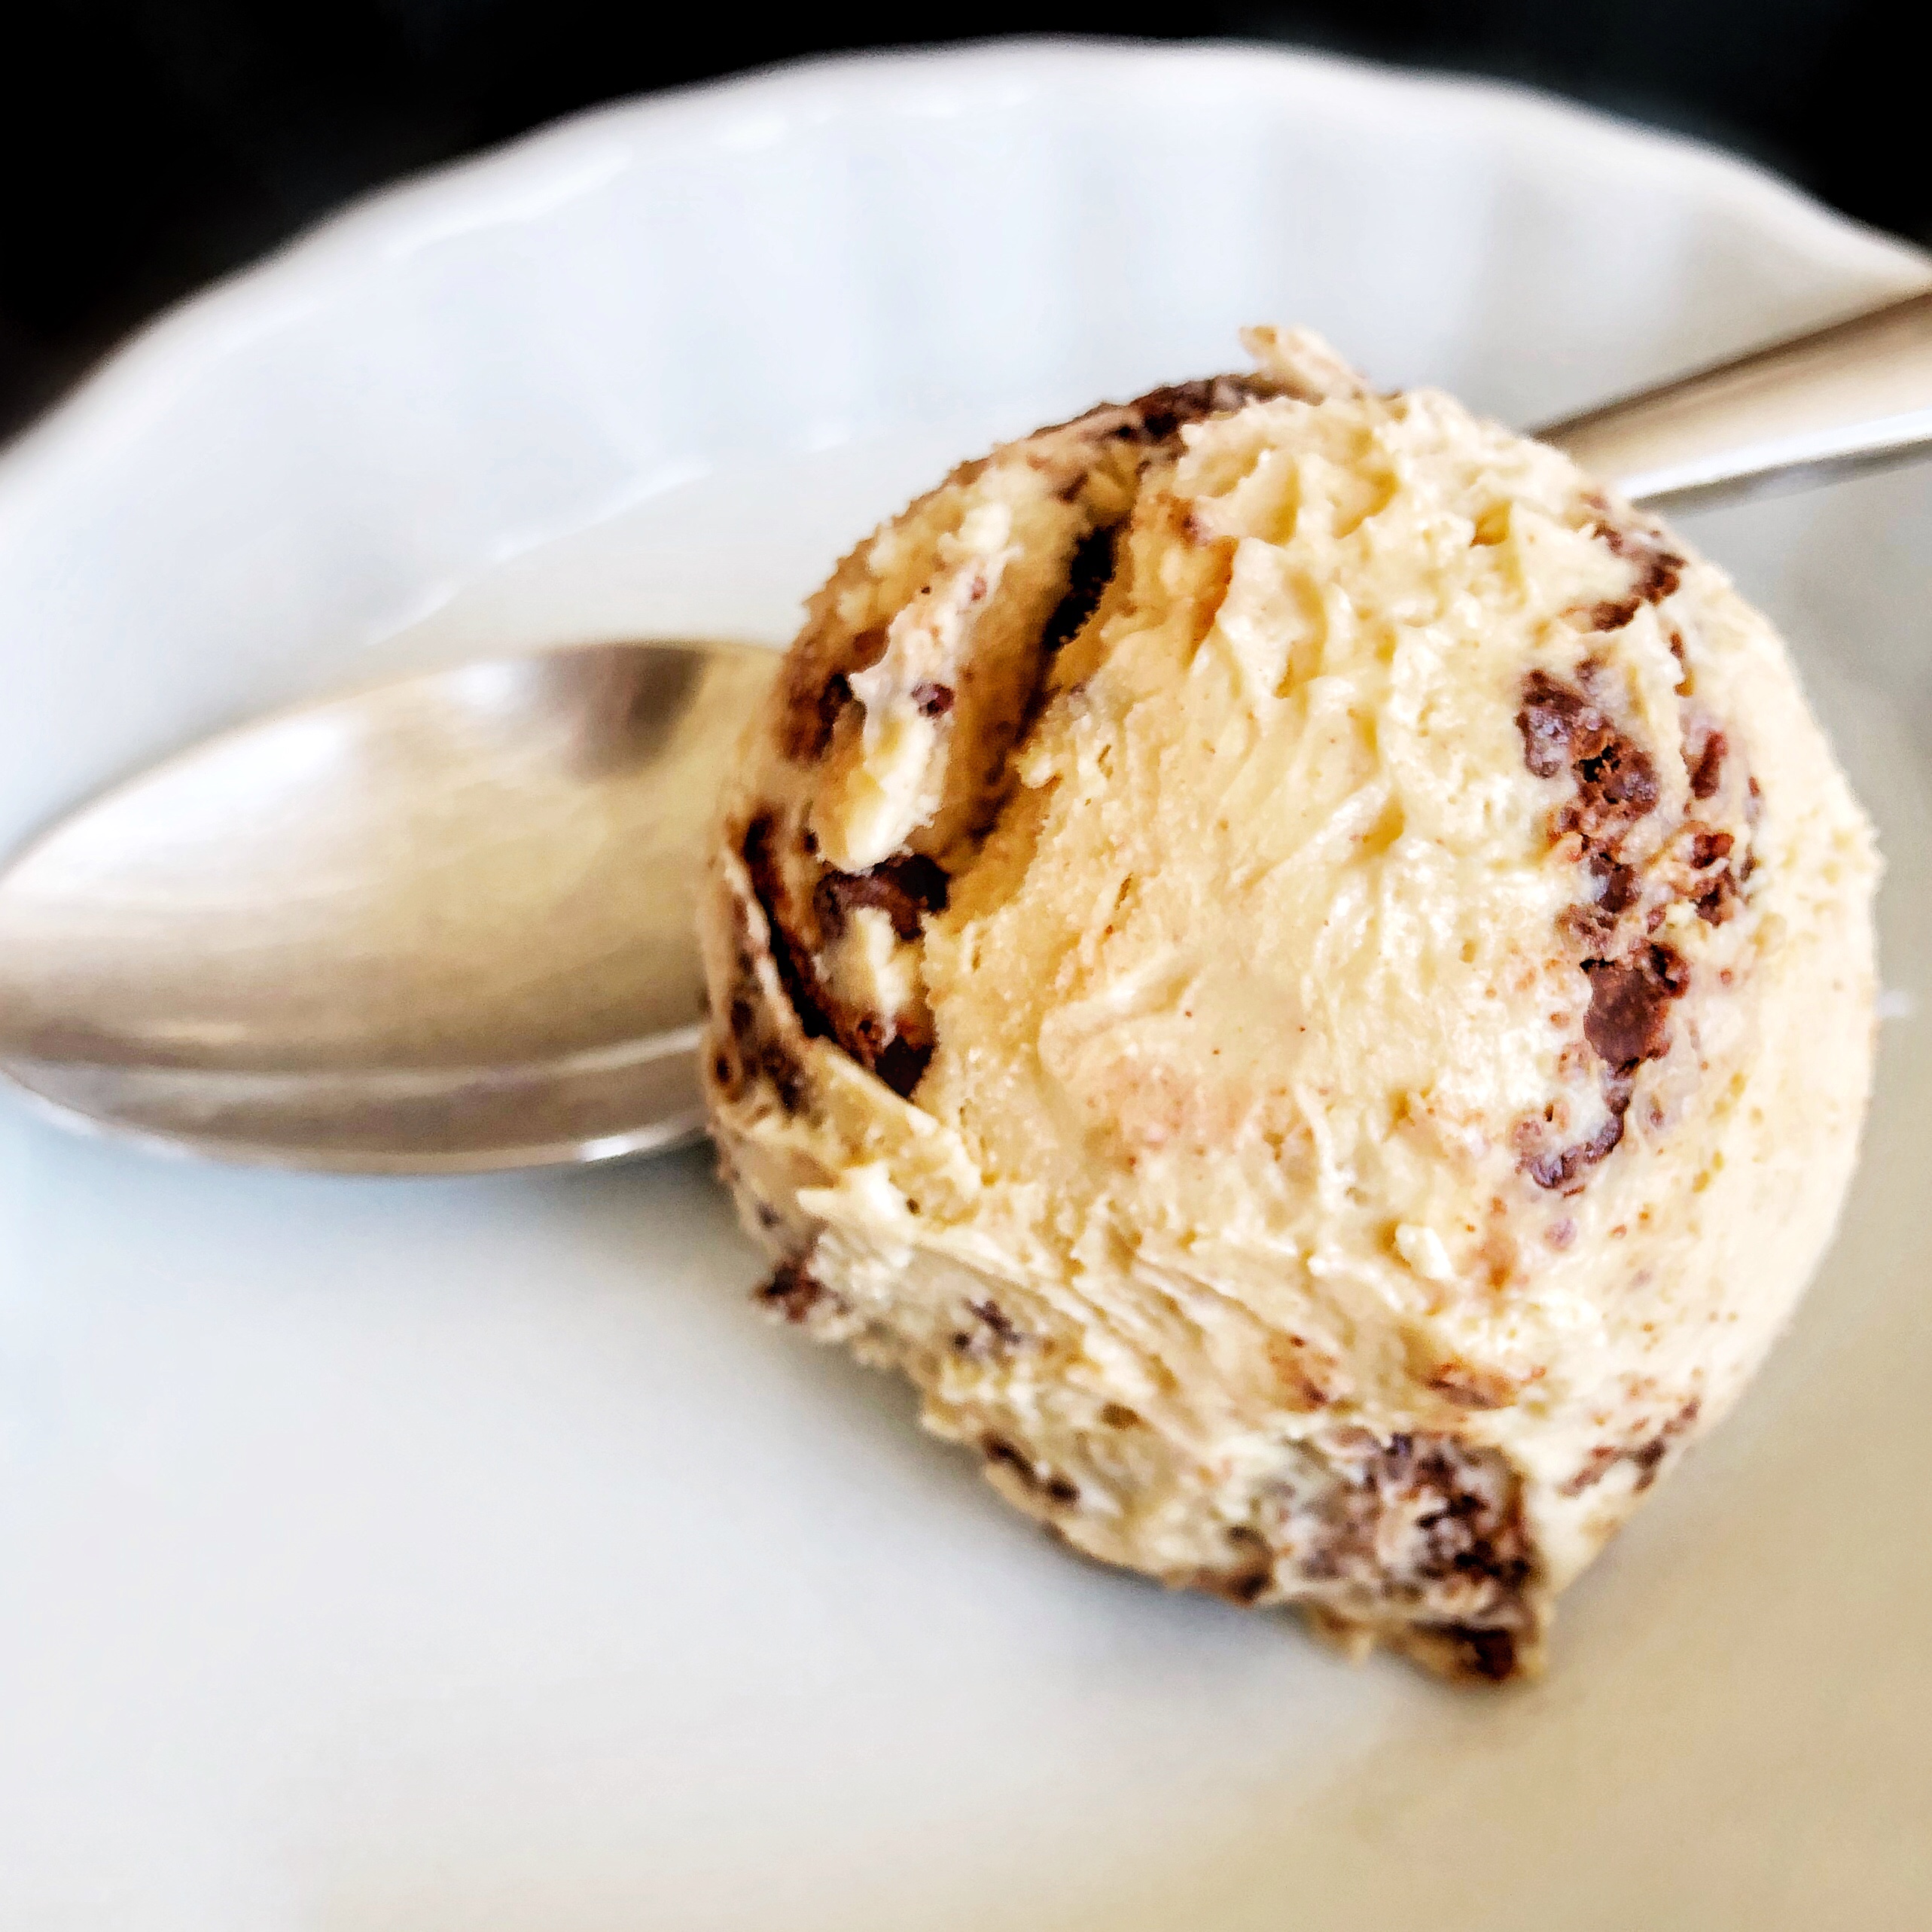
But we’re not making vanilla or honey and lavender ice cream today. Today we’re making healthy ice cream with protein. Just kidding about the healthy part. Who comes to me for healthy recipes (rhetorical)? We’re making peanut butter ice cream with chocolate ganache ribbons.
So without further ado, here’s the third installment of your free Miss Whisk Bakery recipes during quarantine to bring some yummy sunshine into your home (aka your entire world, currently). Photo directions, followed by a printable recipe card.
Here you go! Enjoy. This is *very* rich ice cream that kicks a craving in one bite, so in the end–healthy! See?
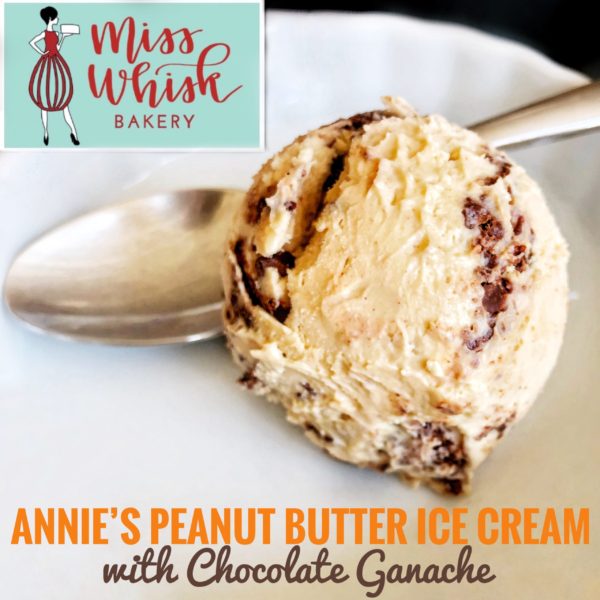
Annie’s Peanut Butter Ice Cream with Chocolate Ganache
Course: DessertDifficulty: Easy8
servings10
minutes5
minutes5-6
Hours15
minutesIngredients
- Peanut Butter Ice Cream
2 cups cold heavy whipping cream
1 14-oz can of sweetened condensed milk
1 tsp vanilla extract
1 cup peanut butter
- Chocolate Ganache
1/3 cup chocolate chips (I use some semisweet, some milk chocolate)
2 tbsp heavy whipping cream
Directions
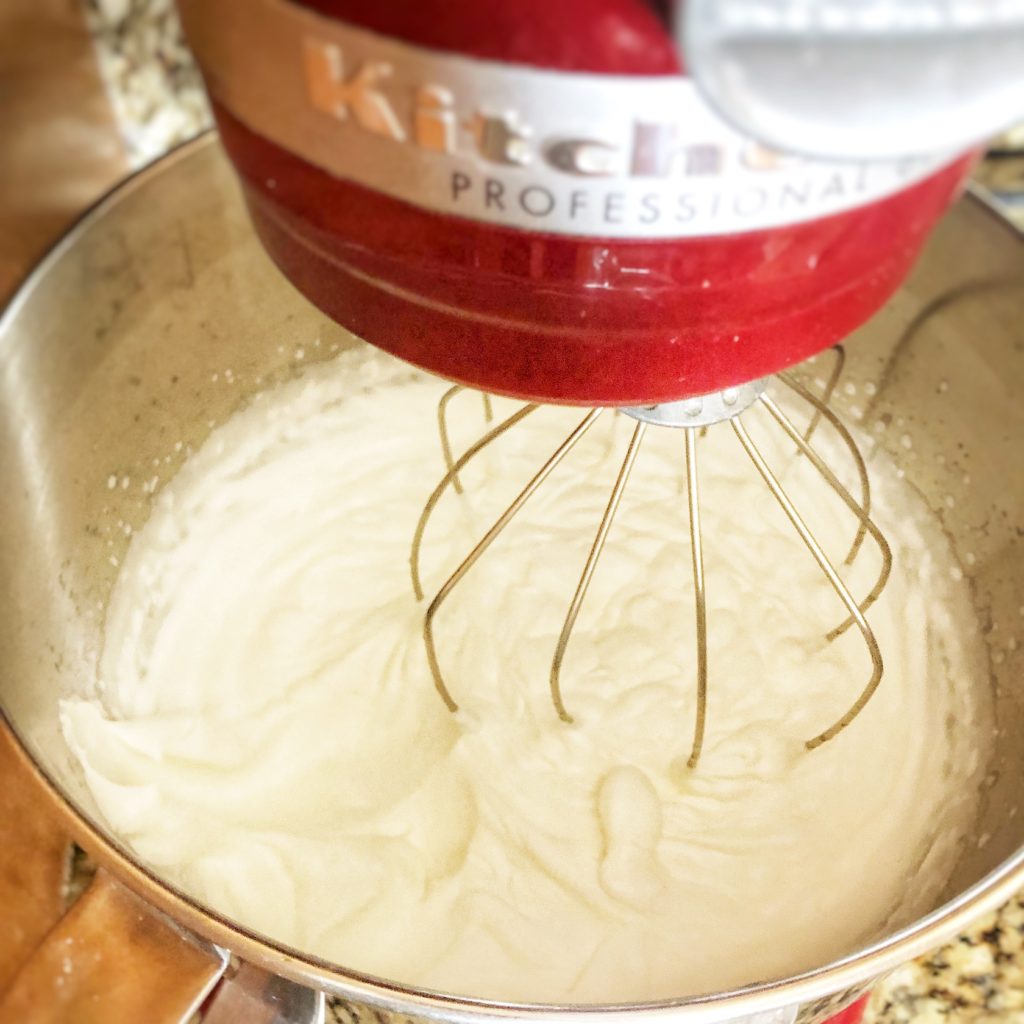
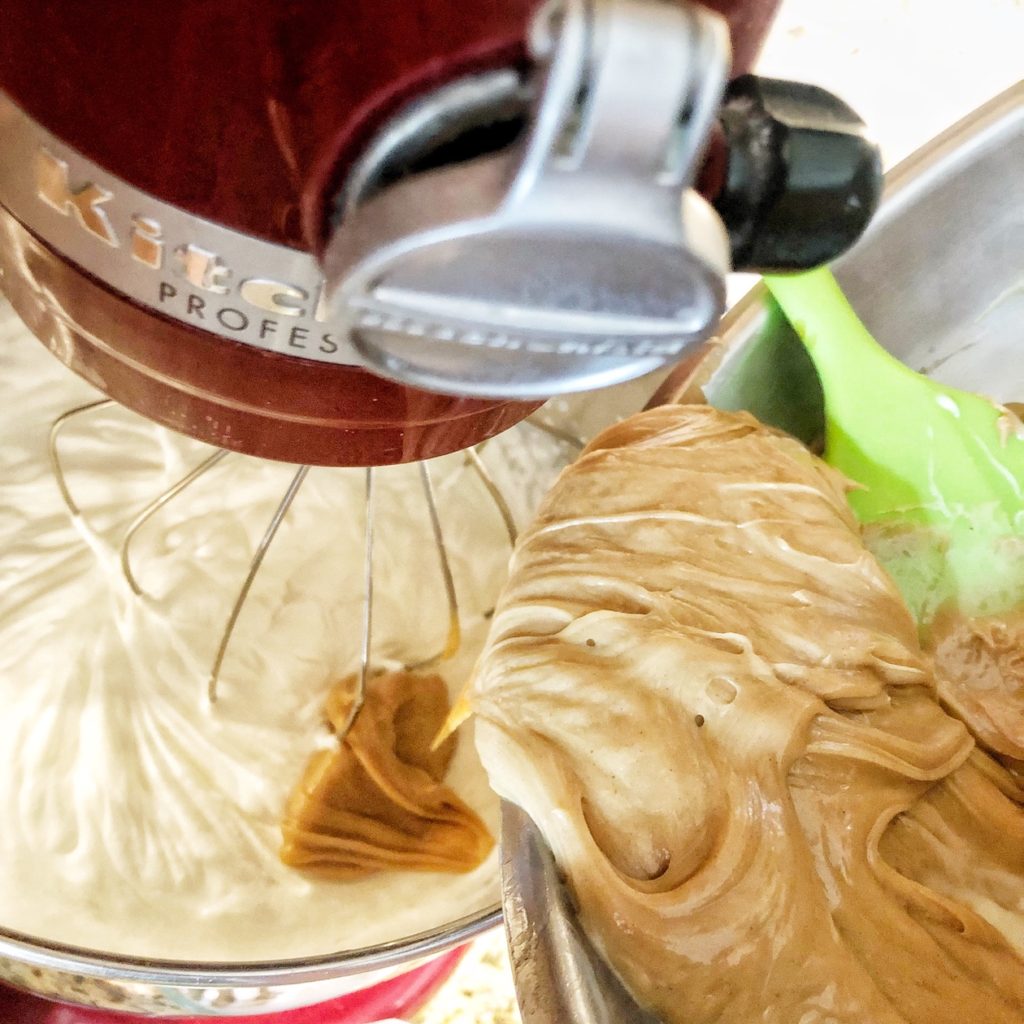
- Pour 2 cups whole whipping cream into a large mixing bowl (electric mixer or stand mixer preferred, but you can also grow your biceps, whisking manually). Whisk cream until stiff peaks form. Set aside.
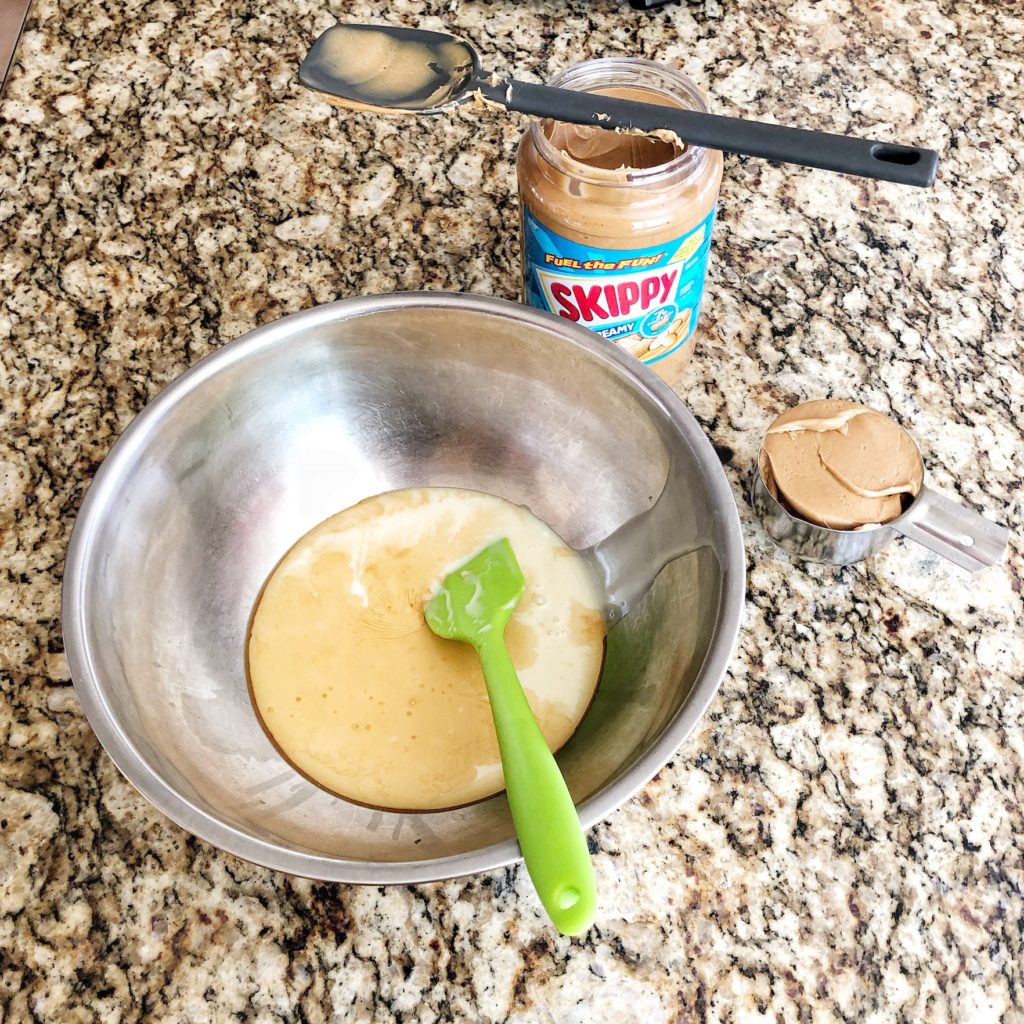
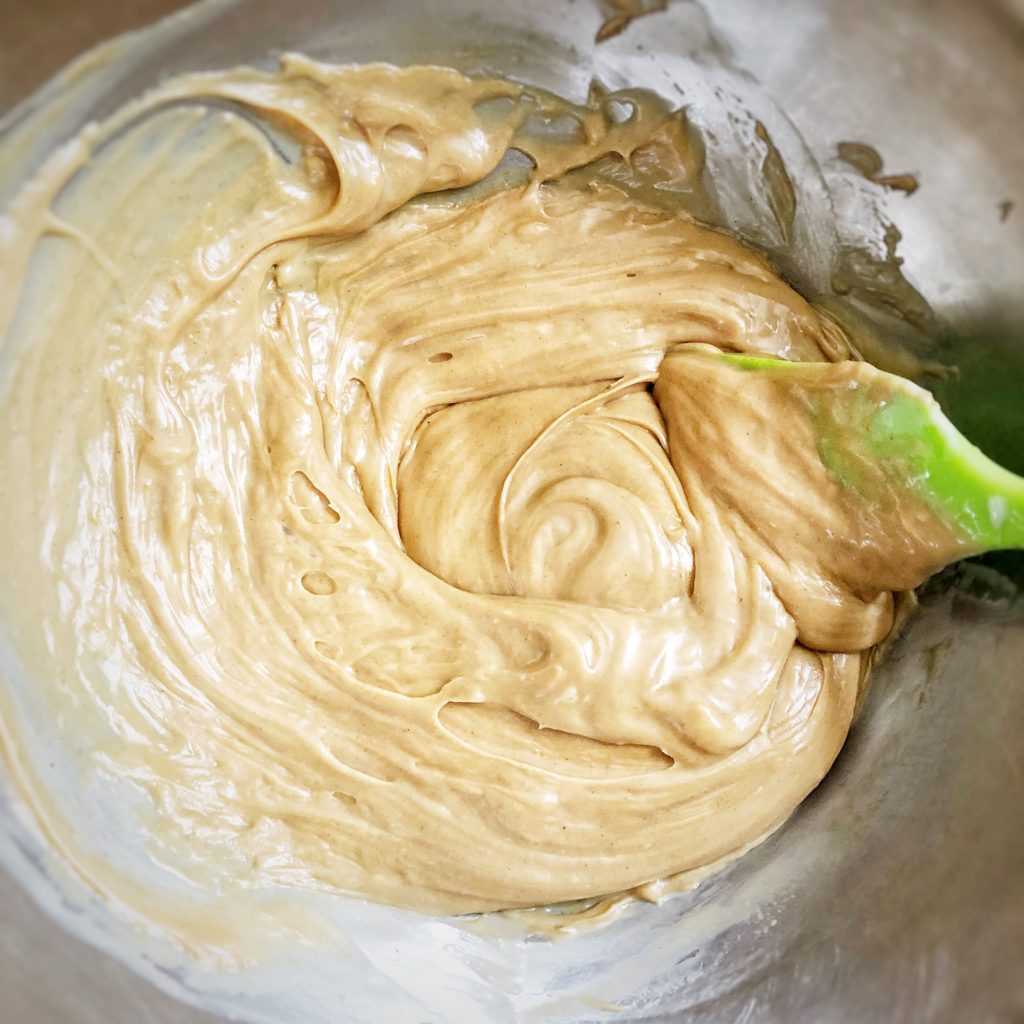
- In a medium bowl, stir condensed milk, vanilla extract, and peanut butter until combined (I use a rubber spatula for this). Pour this mixture into the whipped cream and whip with electric mixer (or now-bulging biceps) until all is combined.
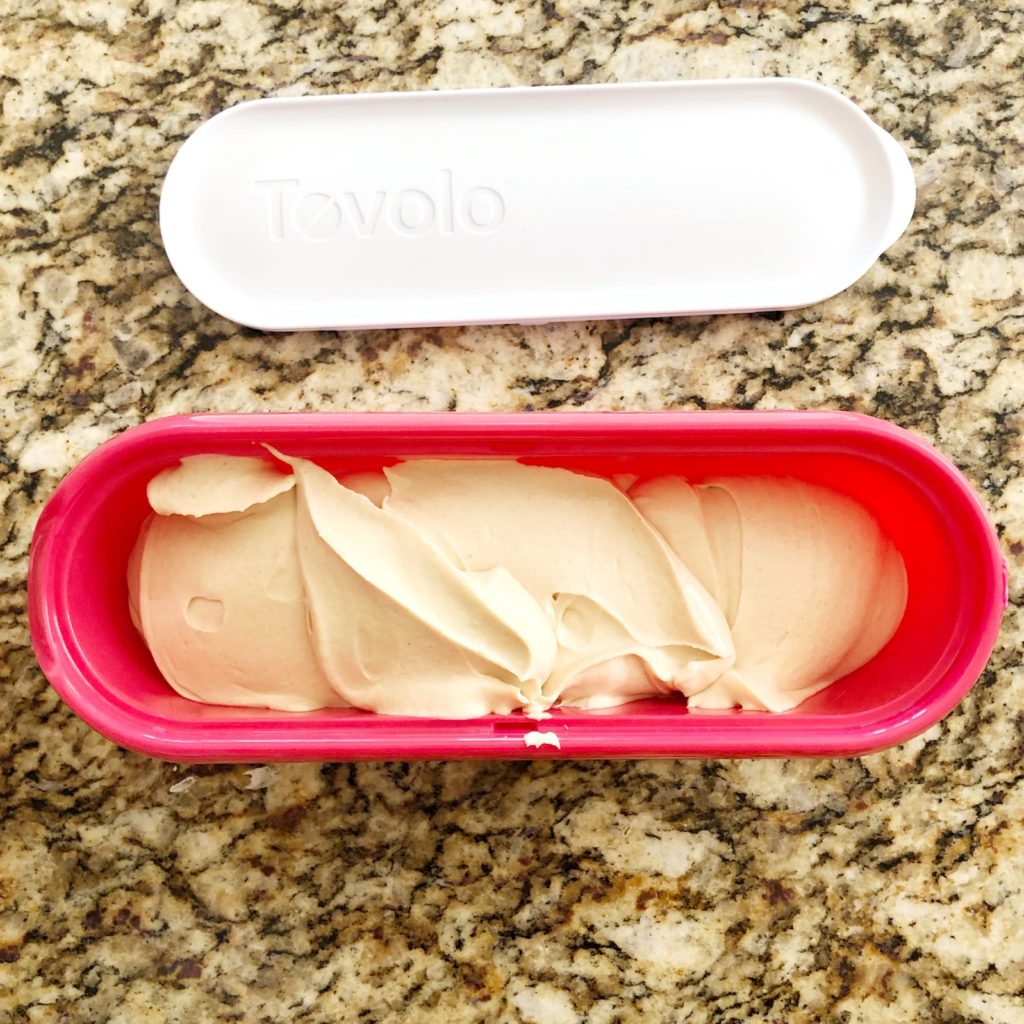
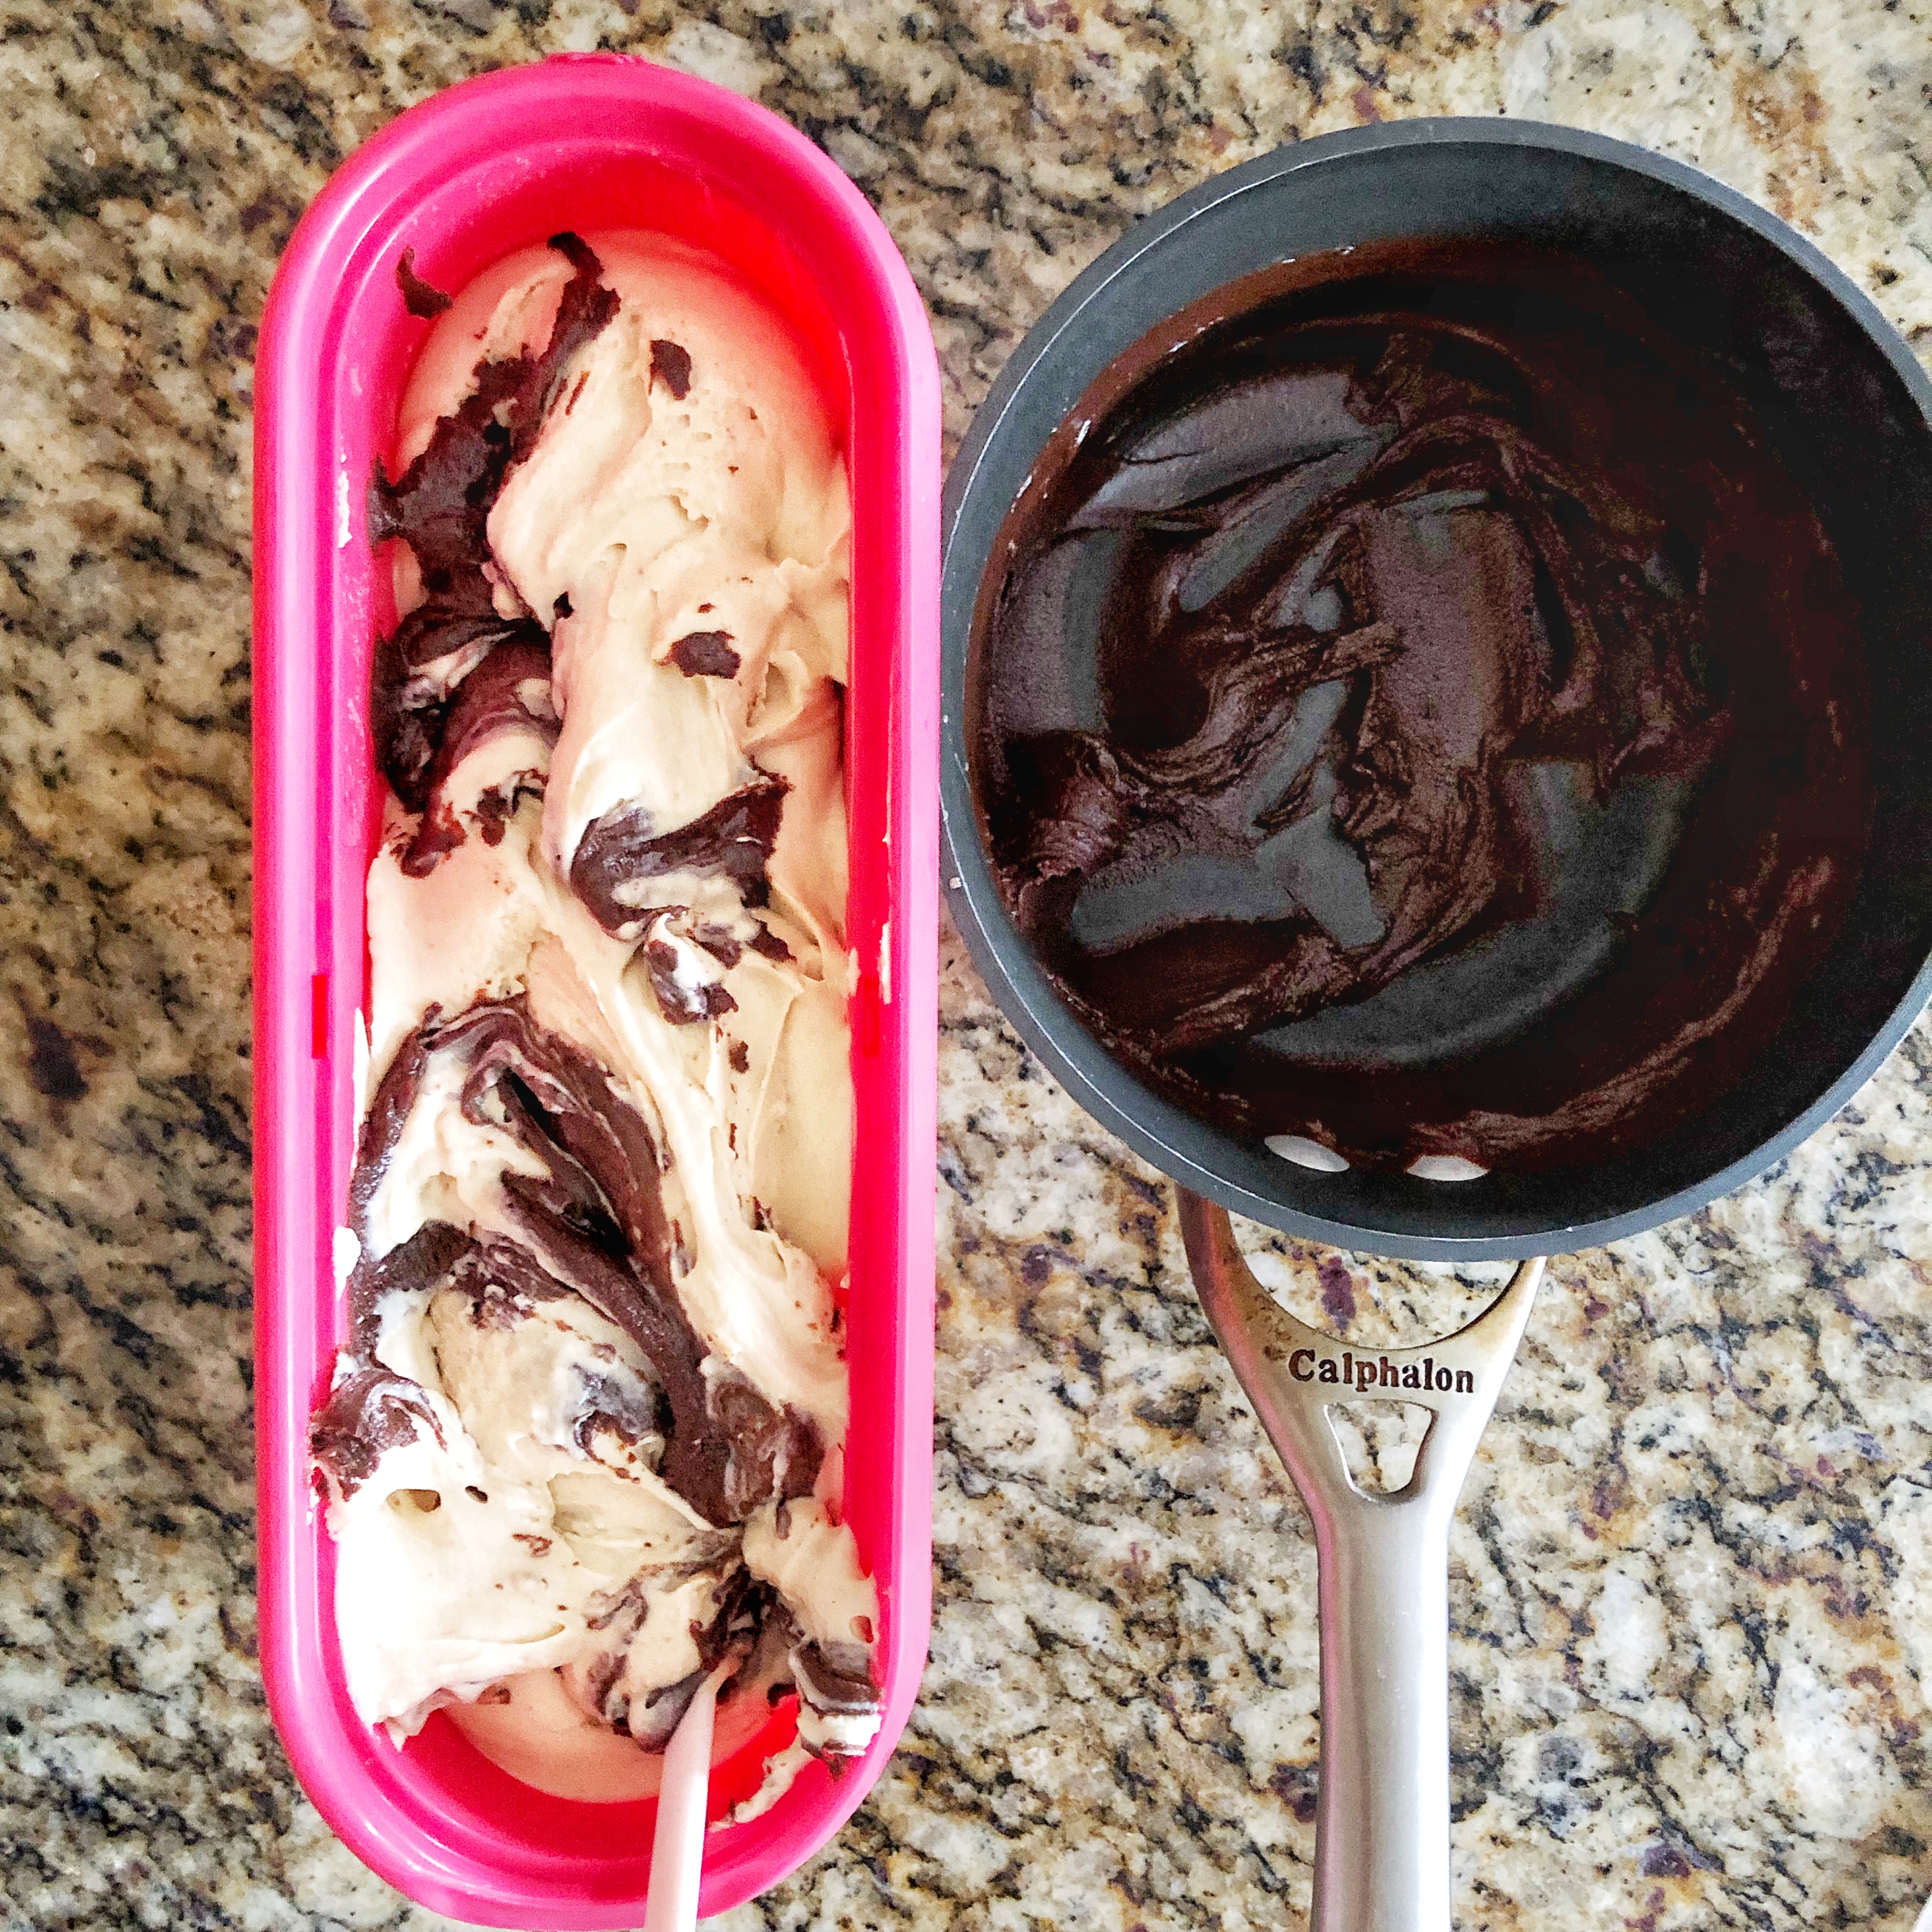
- Pour into a plastic or metal container (I often use plastic yogurt containers). Cover and freeze. Start the timer for 6 hours.
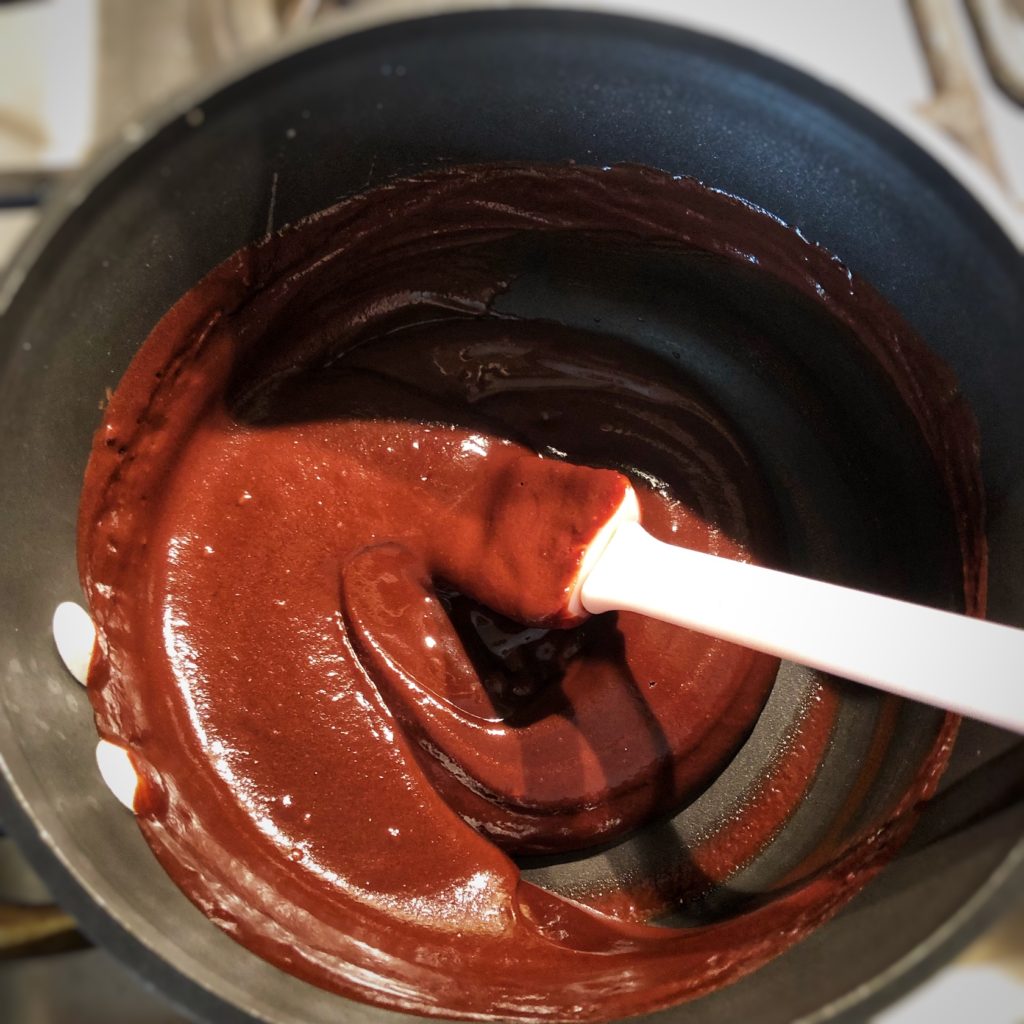
- Meanwhile, pour chocolate chips and 2 tbsp cream into a small sauce pan, simmer, and stir constantly until the chips are melted and combined with the cream. Take pan off the burner and let the ganache cool to room temp in the pan.
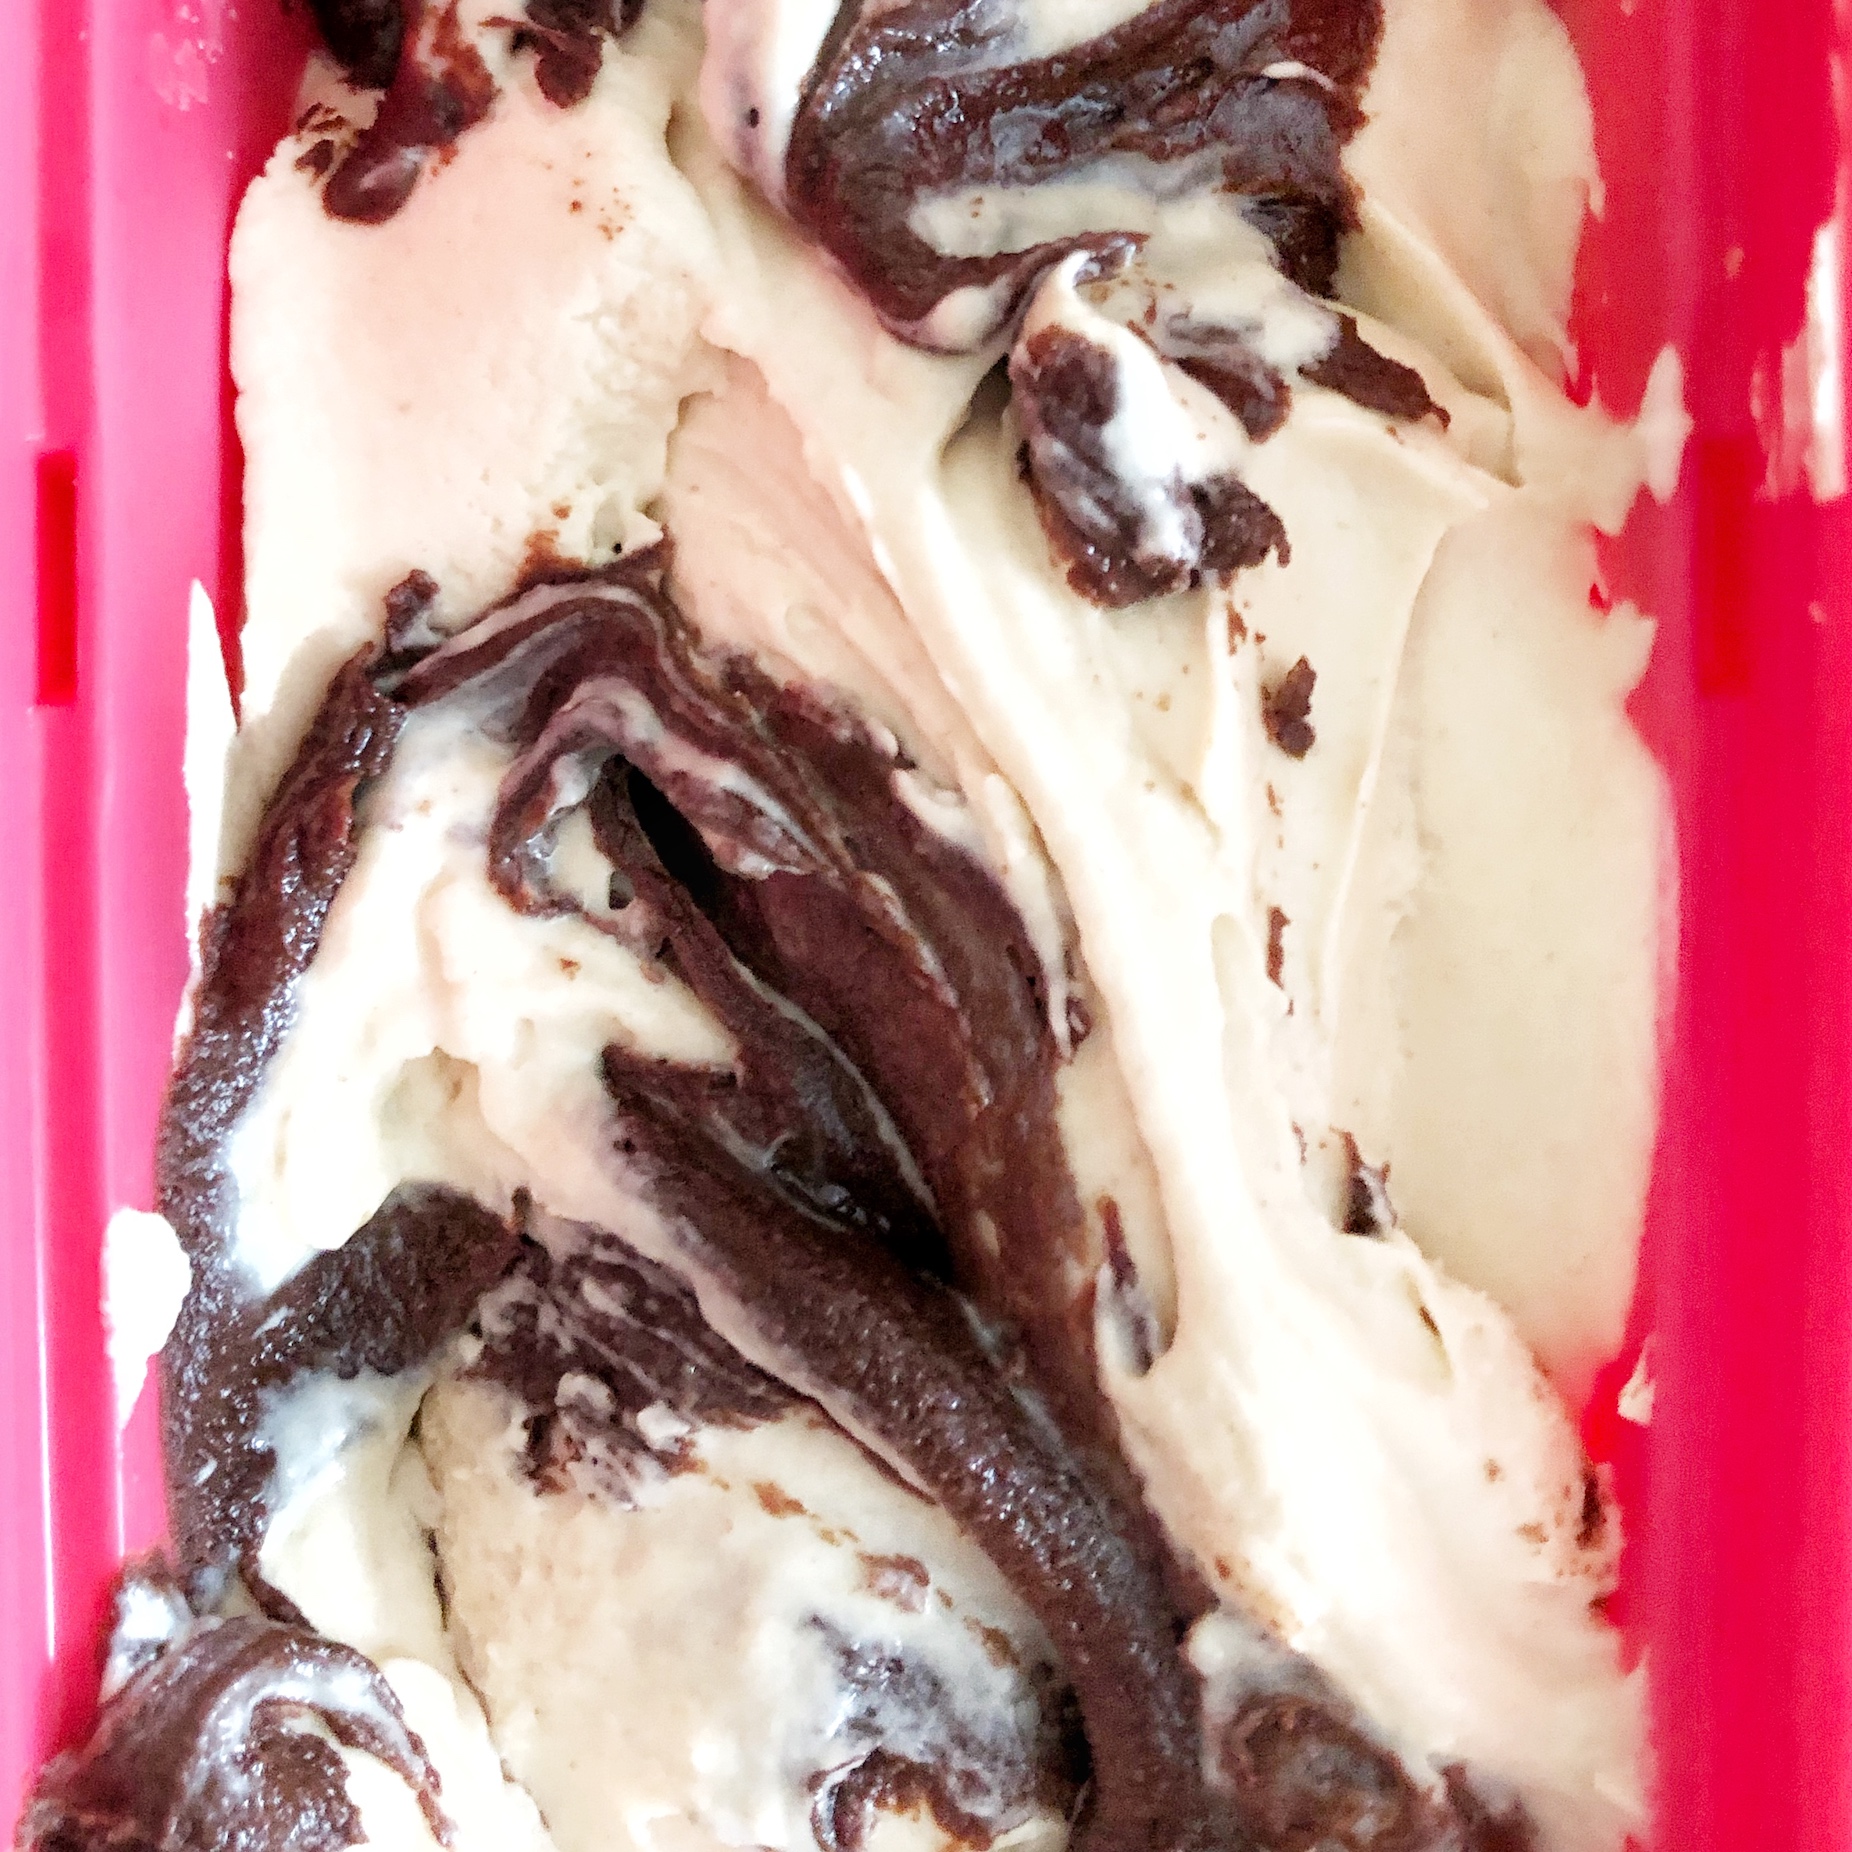
- Once cooled, take ice cream out and pour ribbons of the chocolate ganache into the thickened ice cream (it won’t be frozen yet; just thickened). Drag a spatula or knife through the ice cream in figure 8s to gently distribute the ribbons without blending it into the ice cream mixture too much.
- Cover and freeze.
- What are you waiting for?! Eat it!
Notes
- It’s best to use a container that allows only a little space between the top of the ice cream and the container top to avoid freezer burn.
- My brother-in-law got me this awesome ice cream container. My ice cream never has freezer burn when I use this, and the ice cream stays slightly softer than when I just recycle a plastic yogurt container. It has two layers, so insulation is better. However, you have to be careful not to slip when scooping, as I’ve cracked the side with the scooper (and subsequently placed packaging tape over the crack, which works well 🤪): https://www.amazon.com/Tovolo-Glide-Non-Slip-Insulated-Strawberry/dp/B00CBFZWHS/ref=sr_1_1?dchild=1&keywords=ice+cream+container+tovolo&qid=1585359390&sr=8-1
- Note: I call this “Annie’s Peanut Butter Ice Cream with Chocolate Ganache” and not “Miss Whisk’s” because I can’t and don’t sell ice cream. Blame state regulation on licensed homebakers.
If you’d like to receive more secret recipes, deals, and occasional blog posts, subscribe at the top of the page (don’t worry, I send emails very infrequently; only once in all of 2019!). If you’d like to see my creations and more frequent deals, you can also catch me on social media by clicking on the Instagram or Facebook icons on this page!
I hope you all stay healthy and focused on the positive.
~Miss Whisk